Table Of Contents
Safety Precautions During Replacement
Ensuring safety is paramount during a Garage Door Opener Replacement. Before beginning the process, it’s essential to unplug the existing opener and disconnect it from the power source. This will prevent any accidental activation while you’re working on the system. Additionally, wearing protective gear such as gloves and safety glasses can help safeguard against injury from sharp edges or heavy components.
While handling the garage door, be mindful of the potential risks involved. Garage doors are heavy and can cause serious harm if they fall unexpectedly. It’s advisable to have a partner assist you during the installation. This not only makes the task easier but also provides an extra pair of hands to hold heavy parts in place. Following these precautionary measures will help ensure a smooth and safe Garage Door Opener Replacement experience.
Protecting Yourself While Working
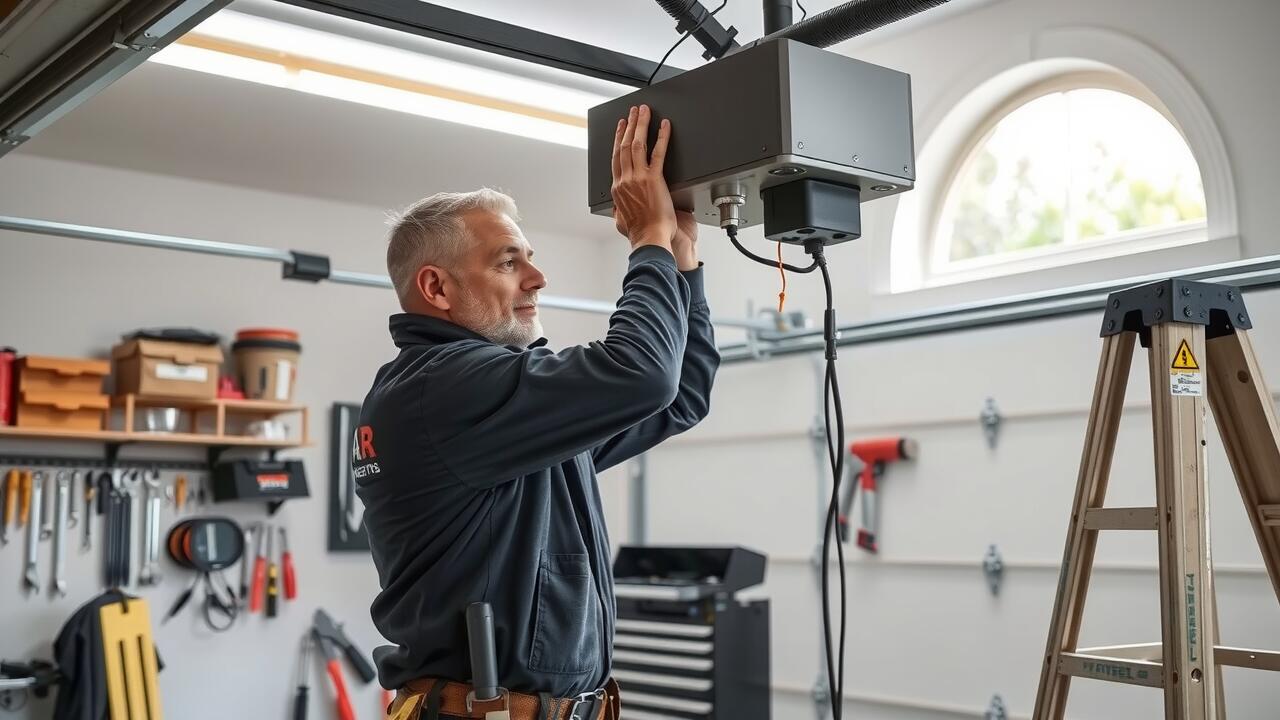
When engaging in garage door opener replacement, prioritizing safety is essential. Start by disconnecting the power supply to avoid any electrical hazards. Wear safety goggles to protect your eyes from debris, and gloves to shield your hands from sharp edges. It’s also wise to have a sturdy ladder on hand if you need to reach higher areas during the installation process. Keeping a clean workspace further minimizes the risk of accidents while you work.
Additionally, familiarize yourself with the specific components involved in the installation. Review the manufacturer’s instructions thoroughly before starting. Make sure to identify all moving parts, as these can pose a danger if not handled properly. Ensuring that the workspace is well-lit will also help you avoid potential hazards. Taking these precautions can lead to a safer and more efficient garage door opener replacement experience.
Adjusting the Garage Door After Installation
After completing the garage door opener replacement, it’s essential to adjust the door for proper operation. Start by checking the alignment of the tracks and ensuring that the rollers glide smoothly. Proper alignment prevents strain on the system and helps it function effectively. Additionally, examine the door balance by disconnecting the opener and manually lifting the door halfway. It should remain in place without any assistance. If it falls or rises, adjustments to the tension of the springs might be necessary.
The next crucial step involves fine-tuning the opener’s settings. Most modern openers come equipped with limit switches that control how far the door opens and closes. Adjust these settings to ensure that the door fully opens and closes without binding or slamming. Test the door to confirm it reverses when encountering an obstruction, enhancing safety. Regular checks and adjustments after garage door opener replacement help maintain optimal performance and prolong the lifespan of the door system.
Fine-Tuning for Optimal Performance
After completing the installation of your new garage door opener, it is essential to focus on fine-tuning for optimal performance. This process often involves adjusting the opening and closing limits, which ensures that the door operates smoothly without any interruptions. Many models have simple controls for setting these limits, typically accessible through the remote or a wall panel. Take the time to follow the manufacturer’s instructions carefully, as incorrect limits can lead to operational issues or even damage the door.
Another critical aspect of fine-tuning is the force settings of the opener. These settings determine how much power the opener uses to lift or lower the door, helping to prevent the motor from straining. During the fine-tuning process, it is wise to test the door by activating it several times and observing its behavior. A properly adjusted system will result in a quiet, efficient operation with minimal resistance. Ensuring these adjustments are made after your Garage Door Opener Replacement will lead to a safer, more reliable performance.
Common Challenges When Replacing Openers
Replacing a garage door opener can present several challenges, especially for those unfamiliar with the mechanics involved. One common issue is aligning the new opener with the existing garage door track. If the opener is not properly aligned, it can lead to operational difficulties. Ensuring that the unit is correctly secured can also be problematic, as improper installation may cause the opener to malfunction.
Another challenge is configuring the power settings and remote controls. Some models require specific programming steps that can be confusing without clear instructions. New users may struggle with these setups, leading to frustration. It is important to refer to the manufacturer’s guide to navigate these potential pitfalls effectively during the garage door opener replacement.
Troubleshooting Installation Issues
Issues can arise during a garage door opener replacement, leading to operational problems. If the opener sounds like it is working but the door does not move, check the connection between the opener and the door. A misalignment or loose bracket may prevent proper function. Ensuring the door can move freely along the track is essential.
If the garage door opener replacement results in the door being off-balance, this can cause strain on the motor. Inspecting the springs and cables for proper tension is important. Any signs of wear or breakage should be addressed immediately to avoid further complications. Adjustments may be needed to ensure smooth operation and longevity of the opener.
FAQS
Can I replace my garage door opener without changing the tracks?
Yes, you can replace your garage door opener without replacing the tracks, as long as the existing tracks are in good condition and compatible with the new opener.
How do I know if my garage door tracks are compatible with a new opener?
To determine compatibility, check the size and style of your existing tracks and ensure they match the specifications of the new opener you plan to install.
What are the safety precautions I should take when replacing a garage door opener?
Always disconnect the power to the garage door opener before beginning work, wear safety goggles, and ensure that the garage door is in the closed position to avoid accidents.
What common challenges might I face when replacing a garage door opener?
Common challenges can include misalignment of the door, difficulty in wiring the new opener, and troubleshooting any operational issues that arise during installation.
Do I need special tools to replace my garage door opener?
Typically, you will need basic tools such as a screwdriver, a socket set, and possibly a ladder, depending on the installation height. Always refer to the manufacturer’s instructions for specific requirements.